


How do you type your voice?
Voice Typing in MS Word is especially useful in situations where we can’t use typing at all. This type of voice typing is especially useful when we are tired of typing either our hand or fingers. The article only describes how we can use the voice typing in Microsoft Windows operating system.
What is the use for using voice typing?
If you want to do something new rather than the same. Let us try this time a little bit more than ever with typing in MS Word using your Voice. Typing with a voice is not a new option, but this is a little more popular nowadays.
Because voice typing is easier on Windows but a little different on any other operating systems.
Topics Covers:
- Speech Recognition configuration in Microsoft Windows 7.
- Speech Recognition configuration in Microsoft Windows 10.
- Using Voice to typing in Microsoft Word with Speech Recognition.
Some configurations have to do voice typing before we can use windows.
We need to enable the option of speech recognition before using this procedure.
Although difficult to say, this approach is easy to do. We need some equipment before the speech on applies to voice typing.
Requirements to perform typing with the voice in word on Microsoft Windows Platform:
- Microsoft Windows installed computer (whether it is Microsoft Windows 7/8/8.1 or 10).
- Working Headphones with separate microphone Jack (if you are using laptop some model are inbuilt mic).
- Activated Microsoft Office Package.
How do I use voice typing in Word?
1. First, go to the start menu option on the desktop.
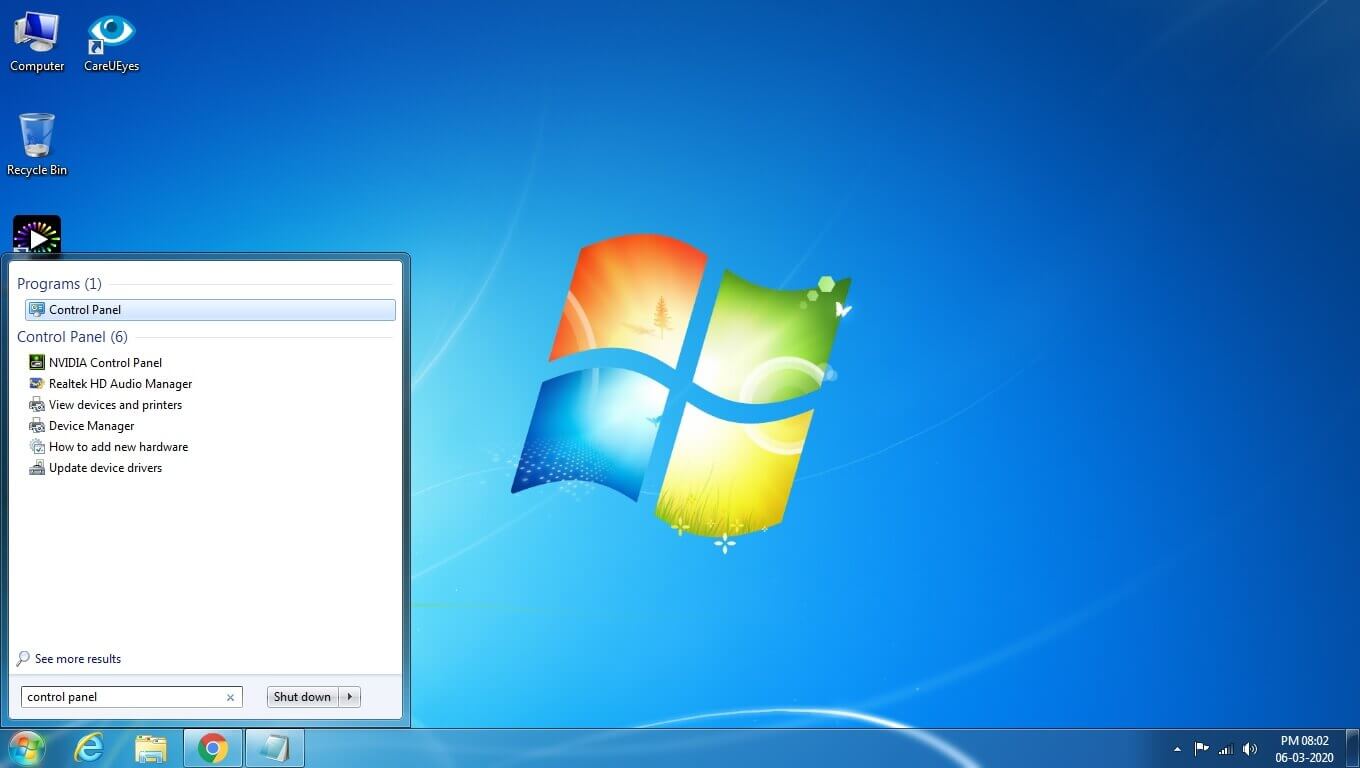

2. Select the control panel option in the start menu.
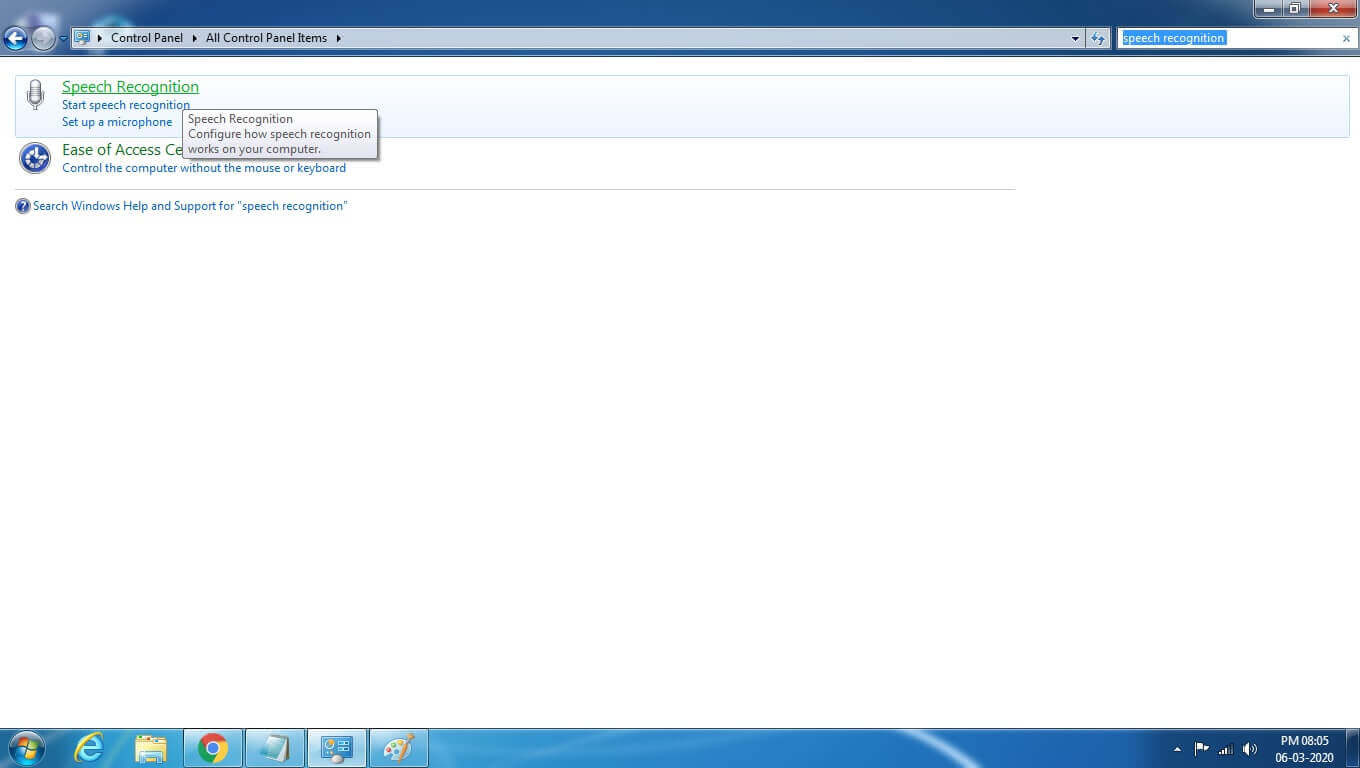
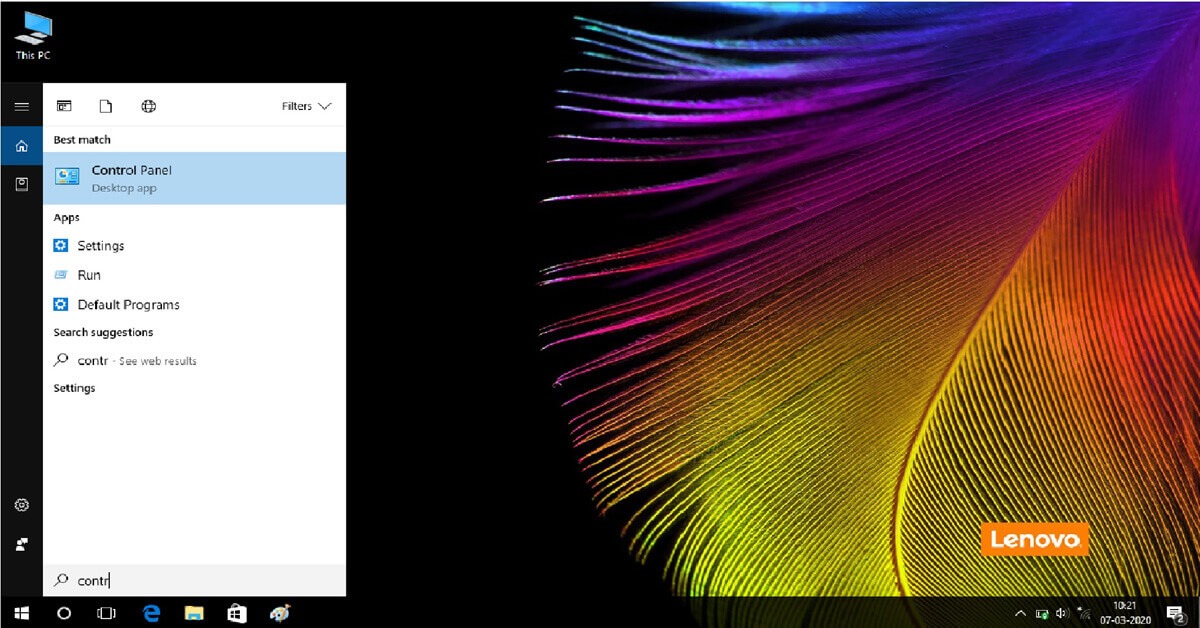
3. If you don’t see control panel in the start menu, type control panel in the search box.
4. After click control panel.
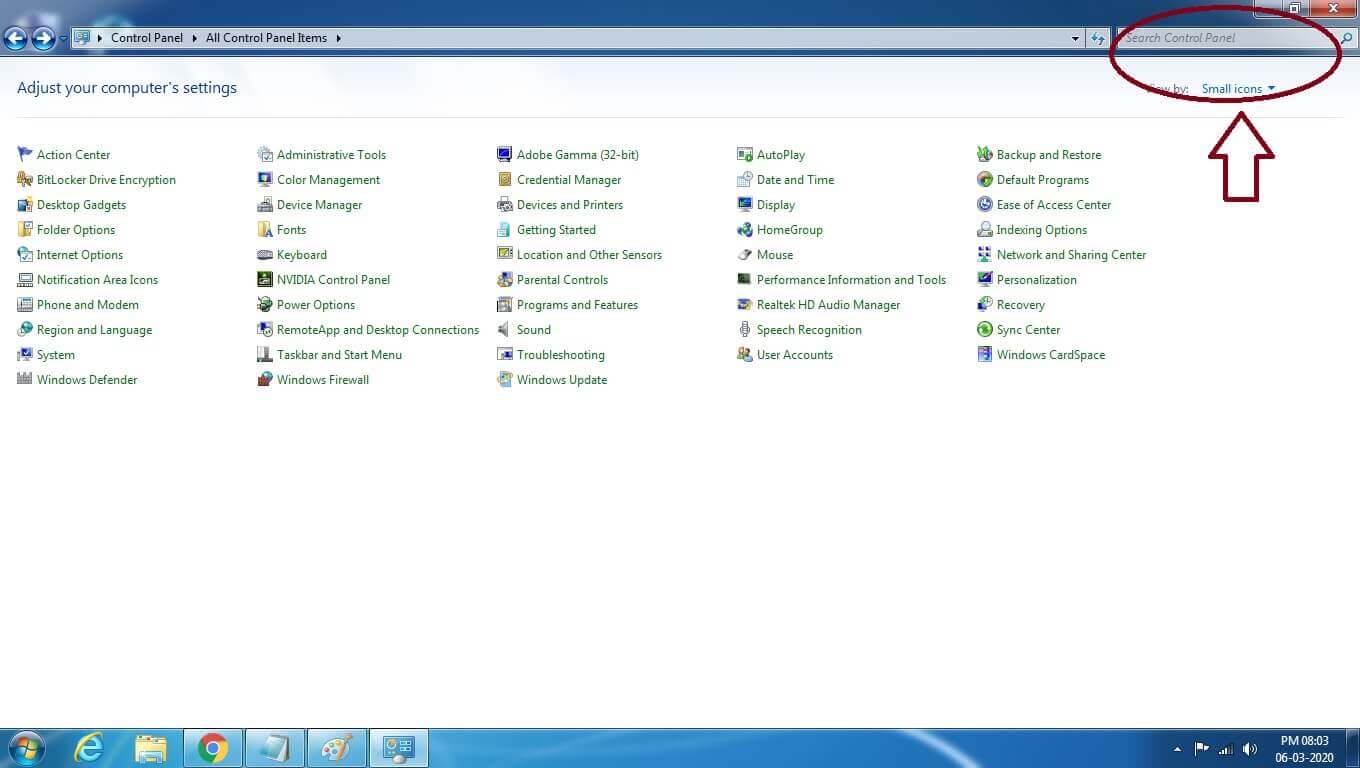
5. On the right side of the control panel, the search box appears then type Speech Recognition.
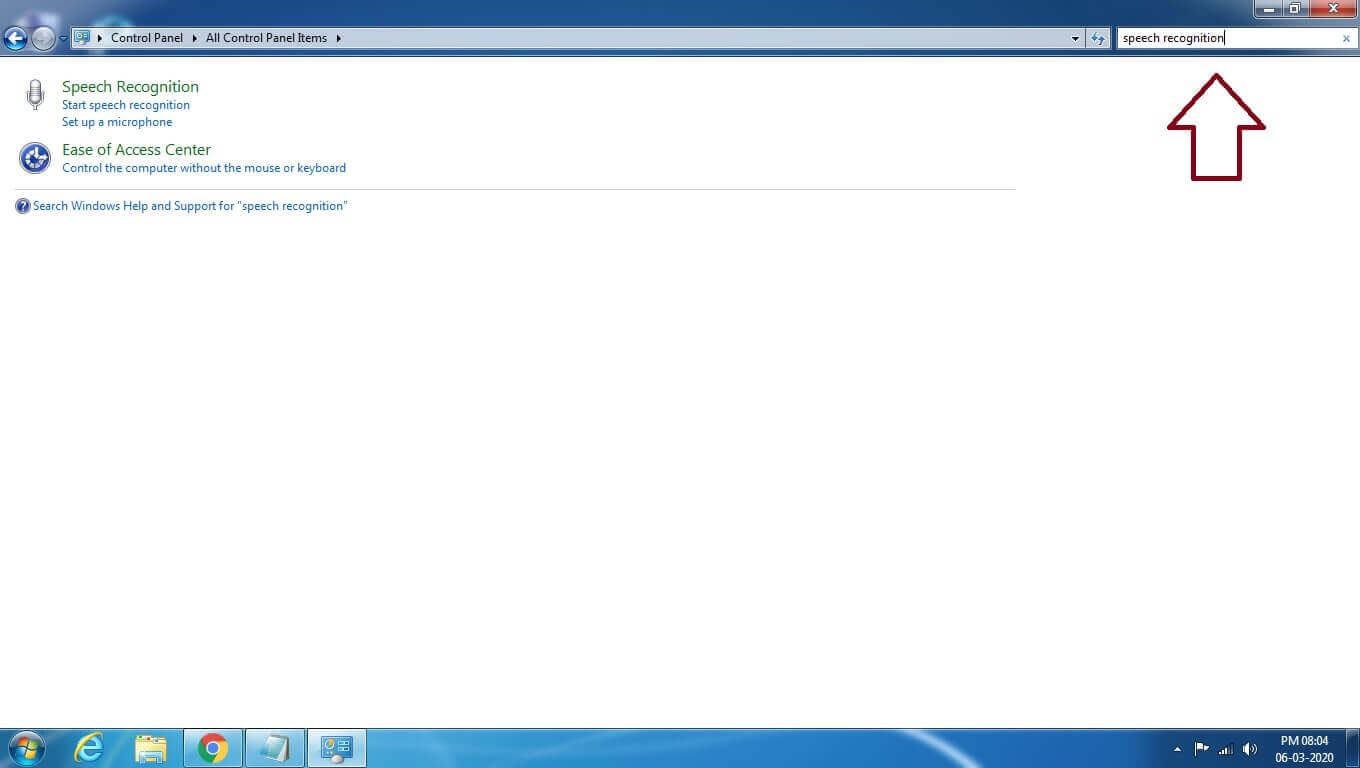
6. Now we need to choose the speech recognition option.
7. The default English of the system is standardized.
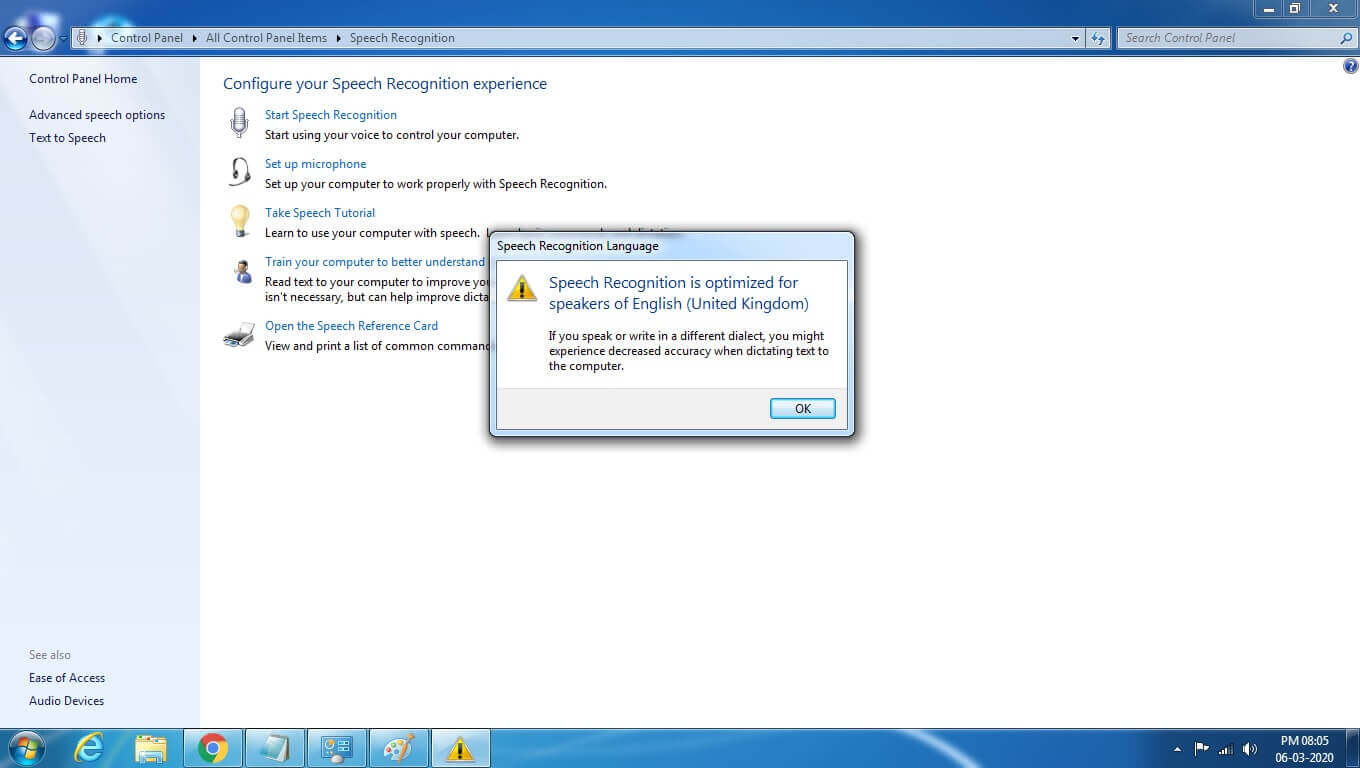
8. Here is the United Kingdom English is taken as default on my computer.
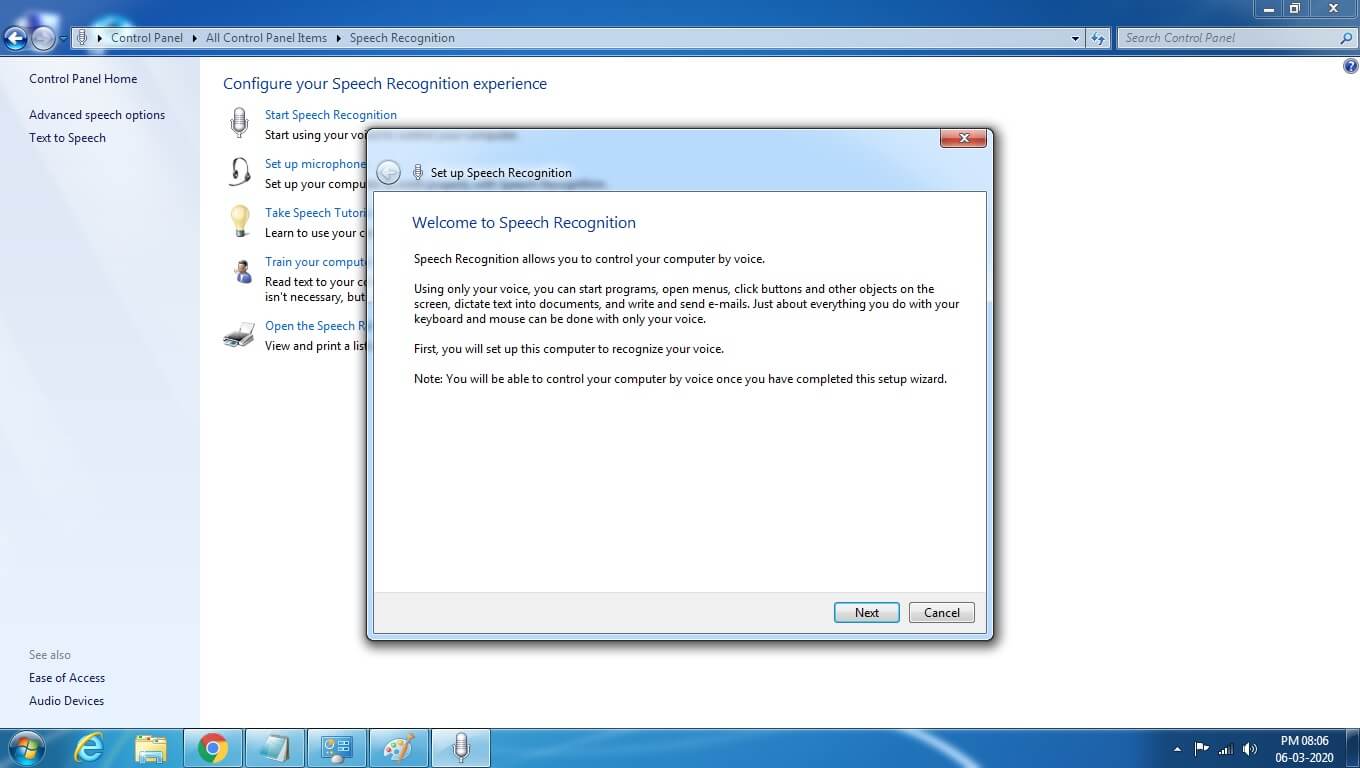
9. Welcome Screen looks like this after you do it. Now we have to choose the option next.
10. Here we need to select which microphone we are using.
11. Since I am using the headset here, the headset is selected as the option.
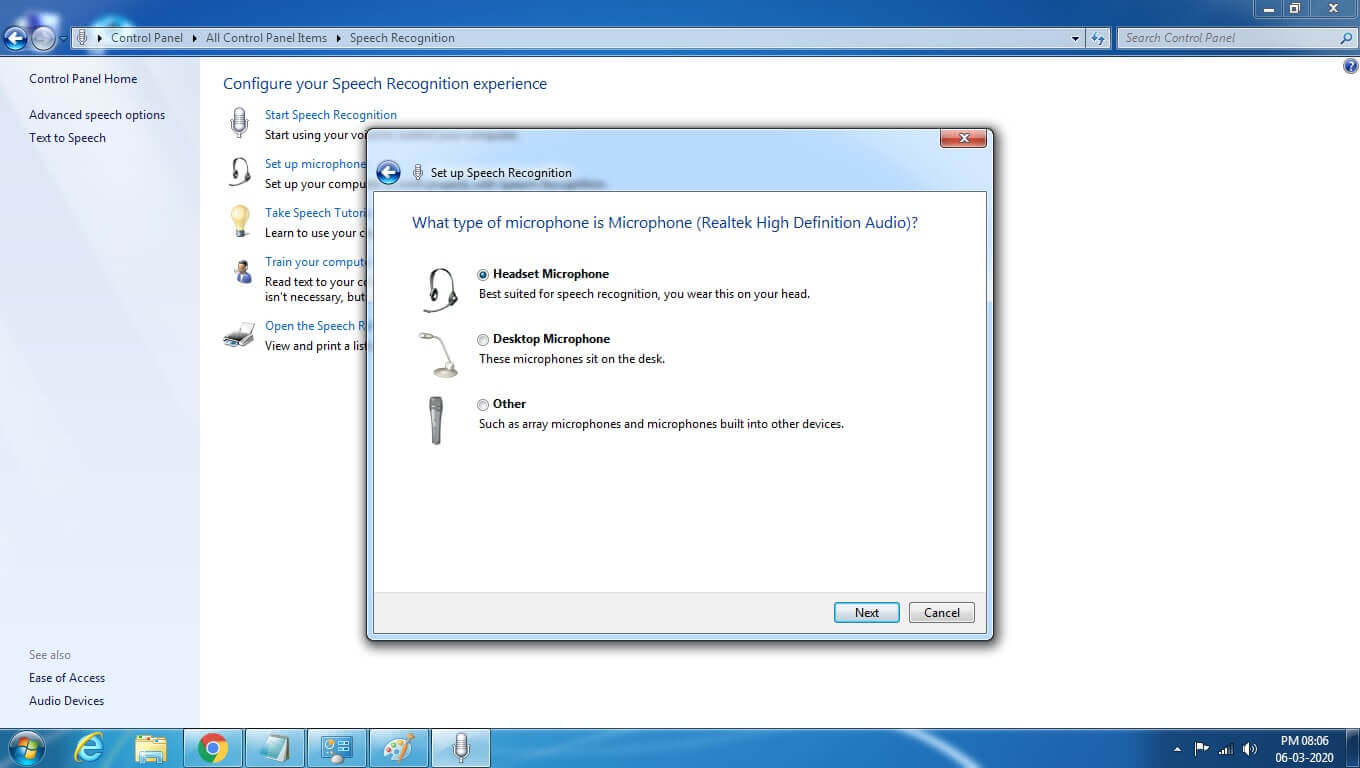
12. Next, we have to choose the option.
13. Headset Once you’re connected to your computer, now we have to choose the options setup.
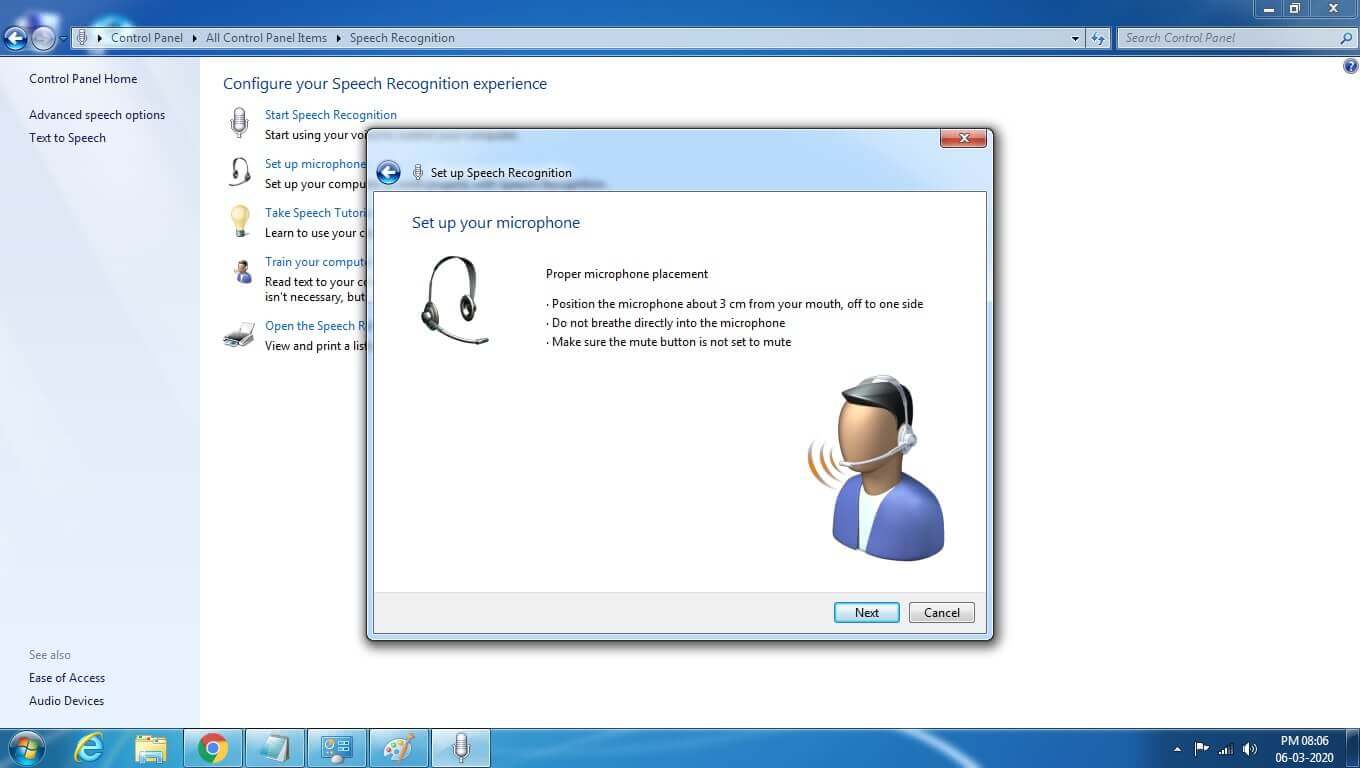
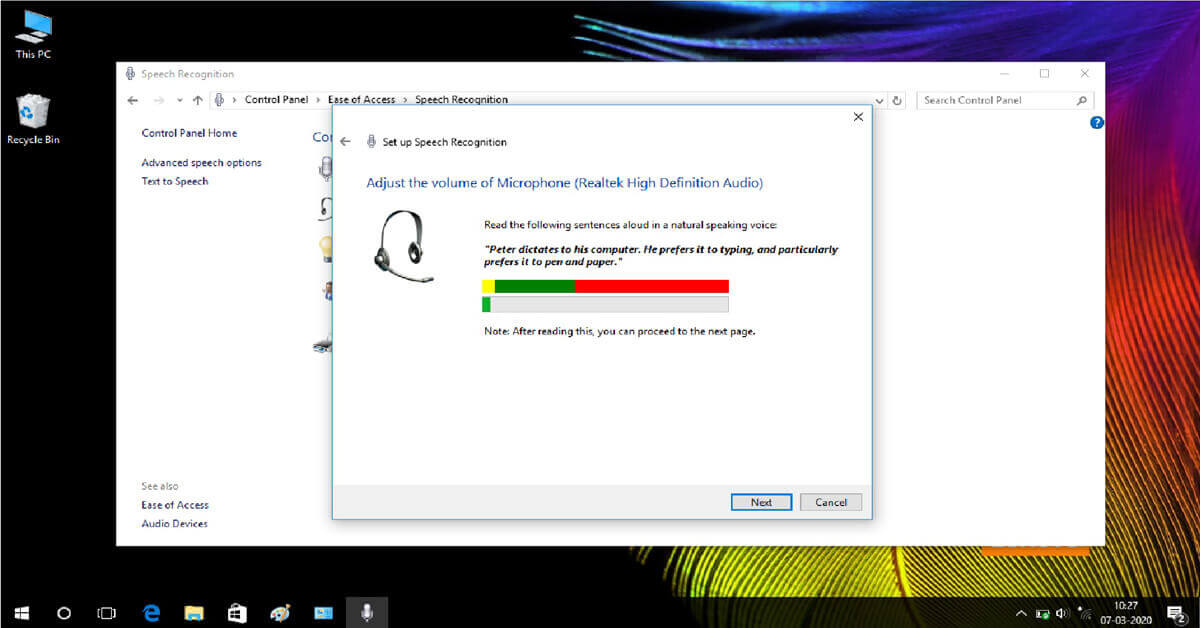
14. If you can see the way up below picture. read above words for microphone speech recognition.
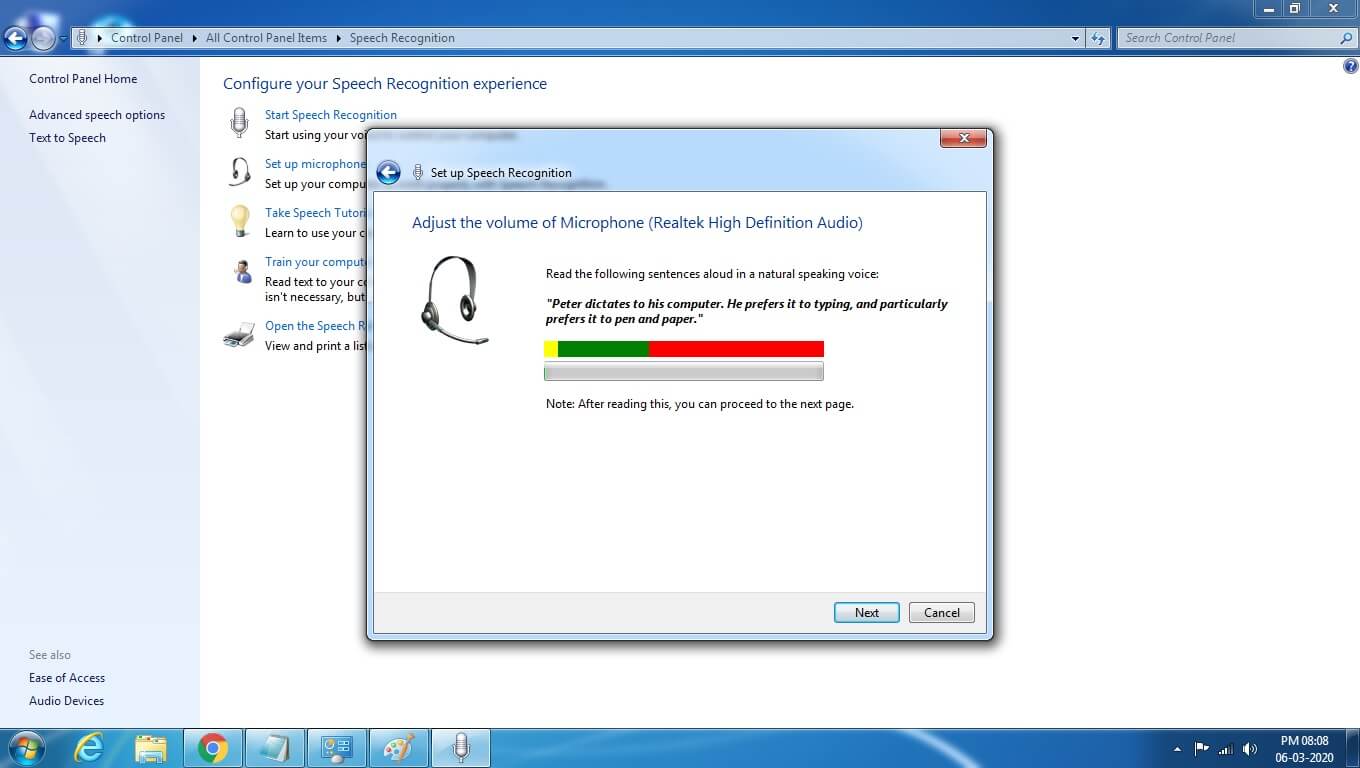
15. Above picture sounds like a recognized successfully.

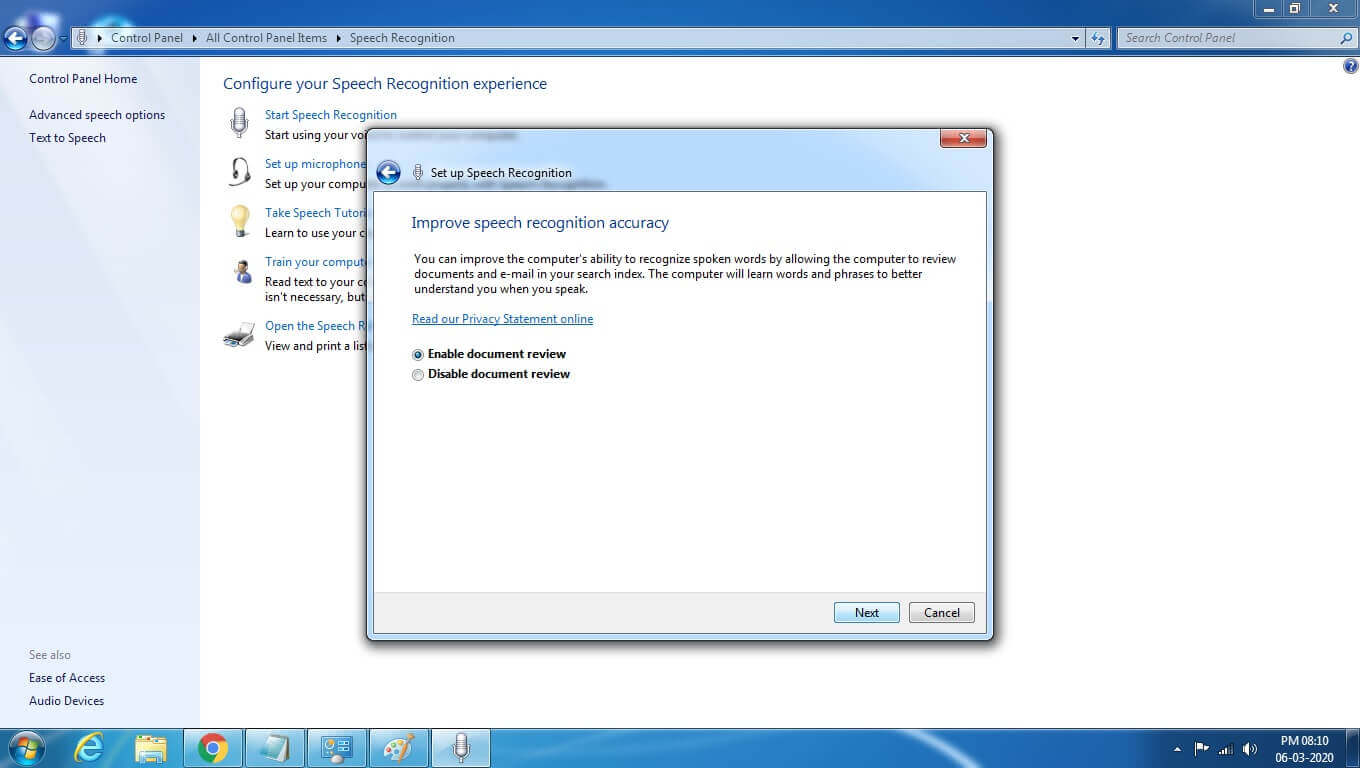
16. To make your voice more accuracy then enable document review, otherwise no need to review.
17. Now you have to choose either the manual activation mode or voice activation mode.

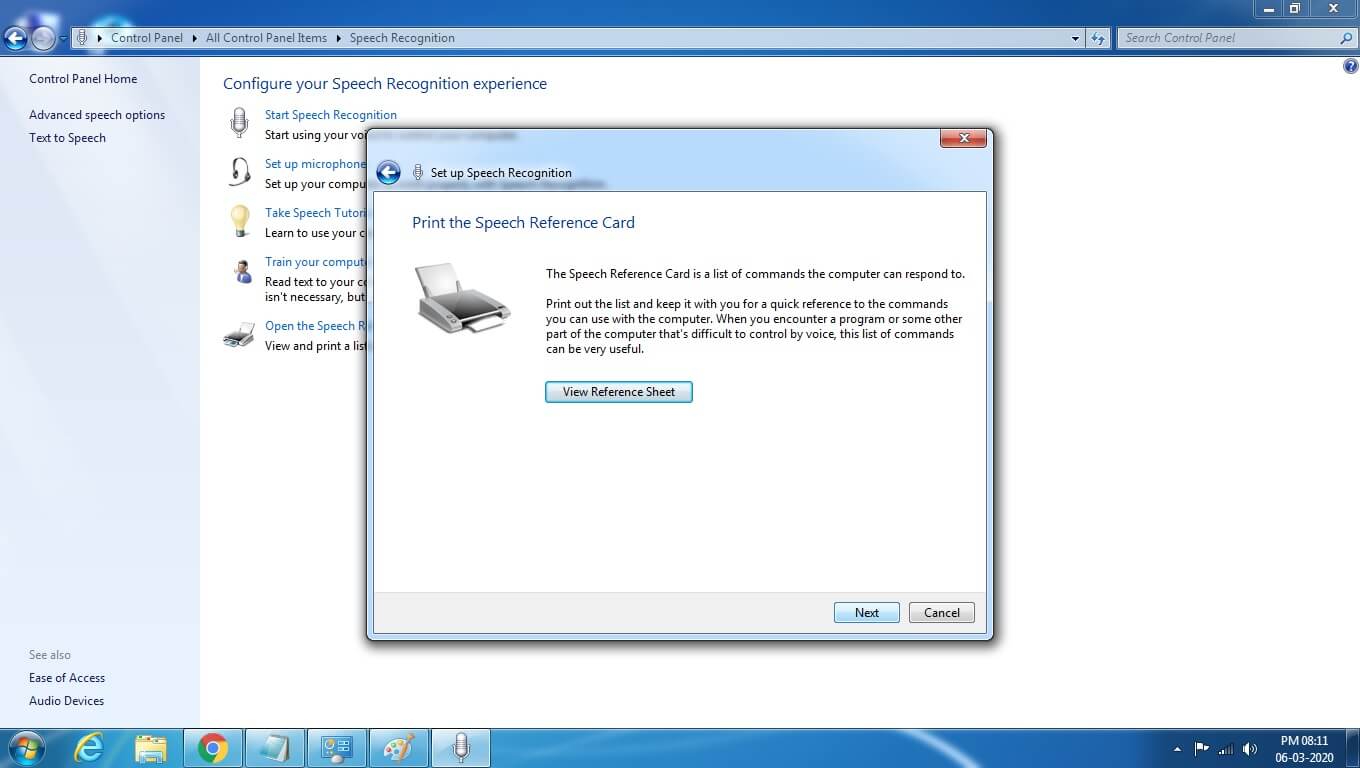
18. If you need some reference sheet click view otherwise choose option next.
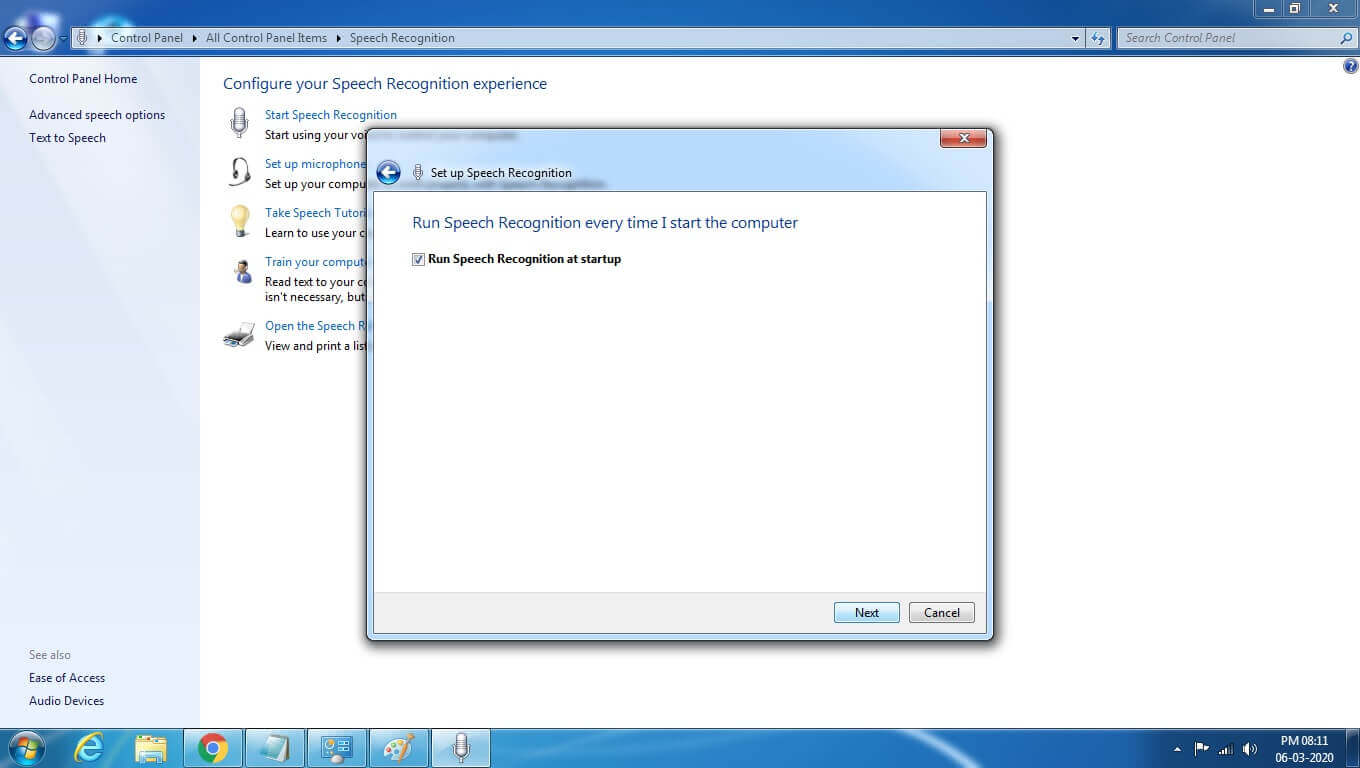
19. This option is required for speech recognition every time the computer is turned on put mark, or no need to tick.
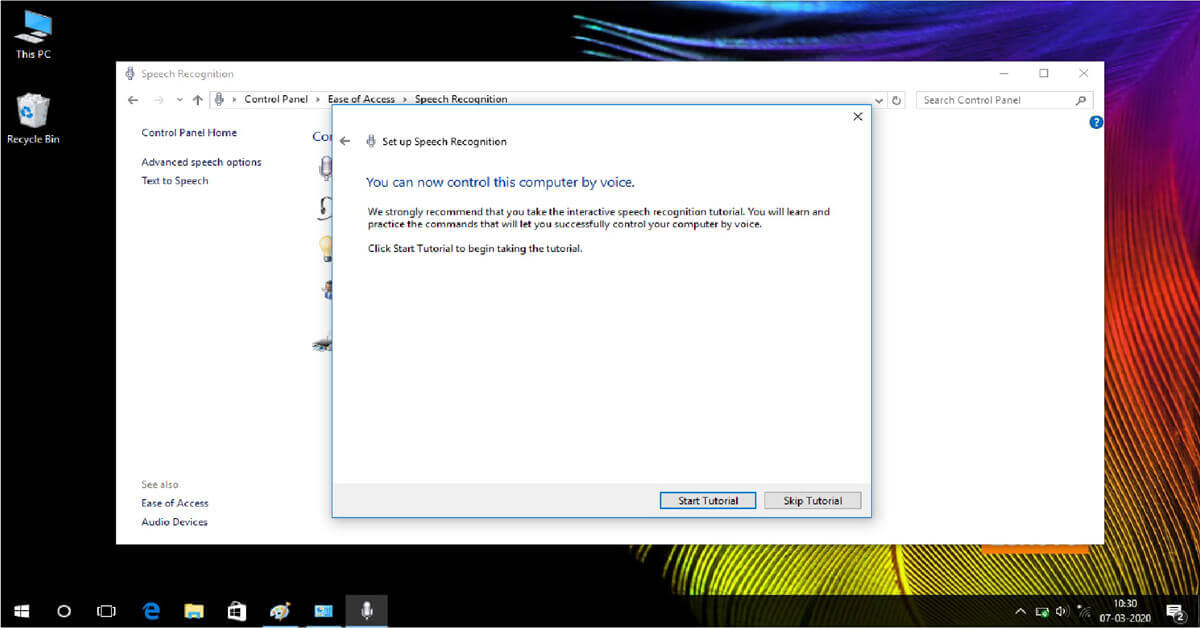
20. If you want to control the computer with voice here are the tutorials. Check otherwise.
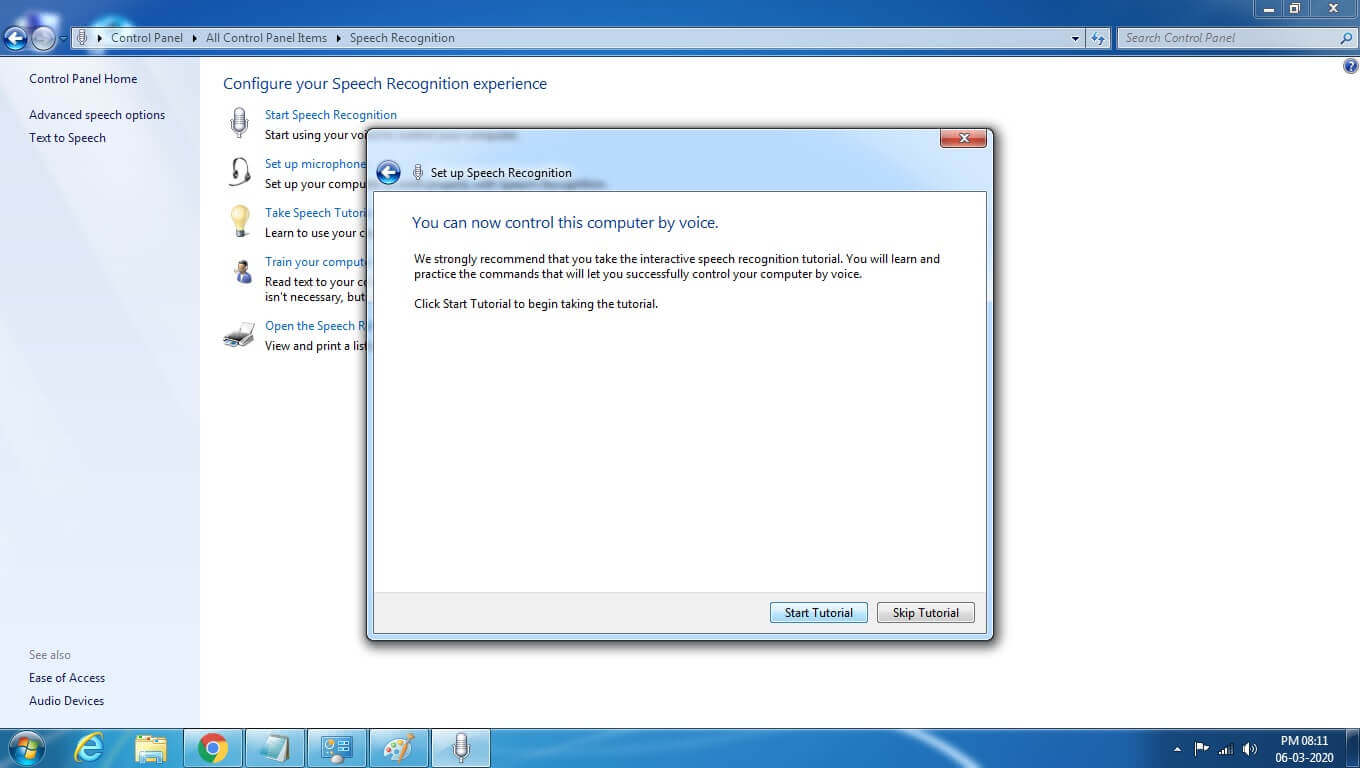
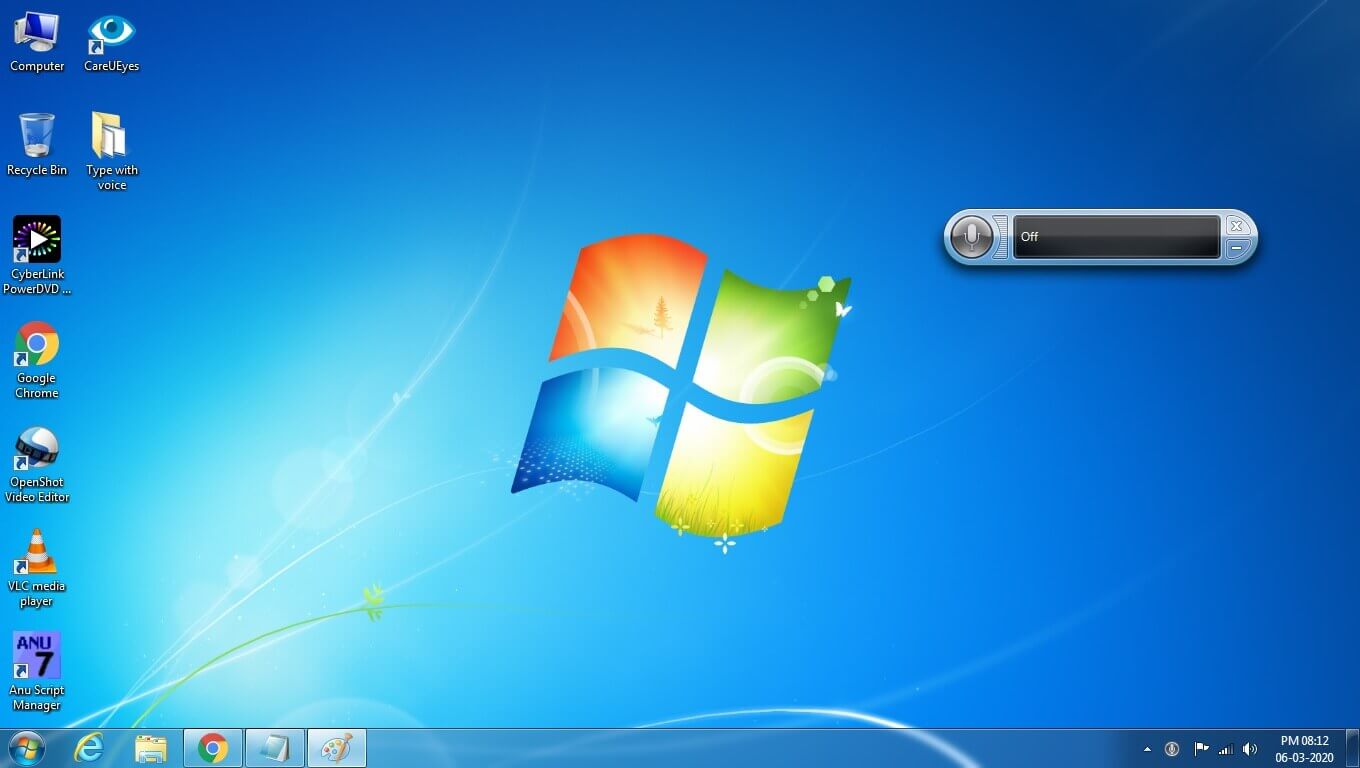
22. As you can see above you have an option of speech recognition controller on a desktop.
Some Interseting Topics:
How o Free Download Books From The Internet
How to Fix a Computer That is Slow
Let’s go to the topic Speech Recognition configuration must do in Microsoft Windows 10.
Here’s we do how to do speech recognition configuration in Microsoft Windows 7 and now how it is in Microsoft Windows 10 operating system.
Before all that Windows 10 has to do some configurations to perform typing text with voice.
Now lets us see how speech recognition configuration for Microsoft Windows 10 Operating System:
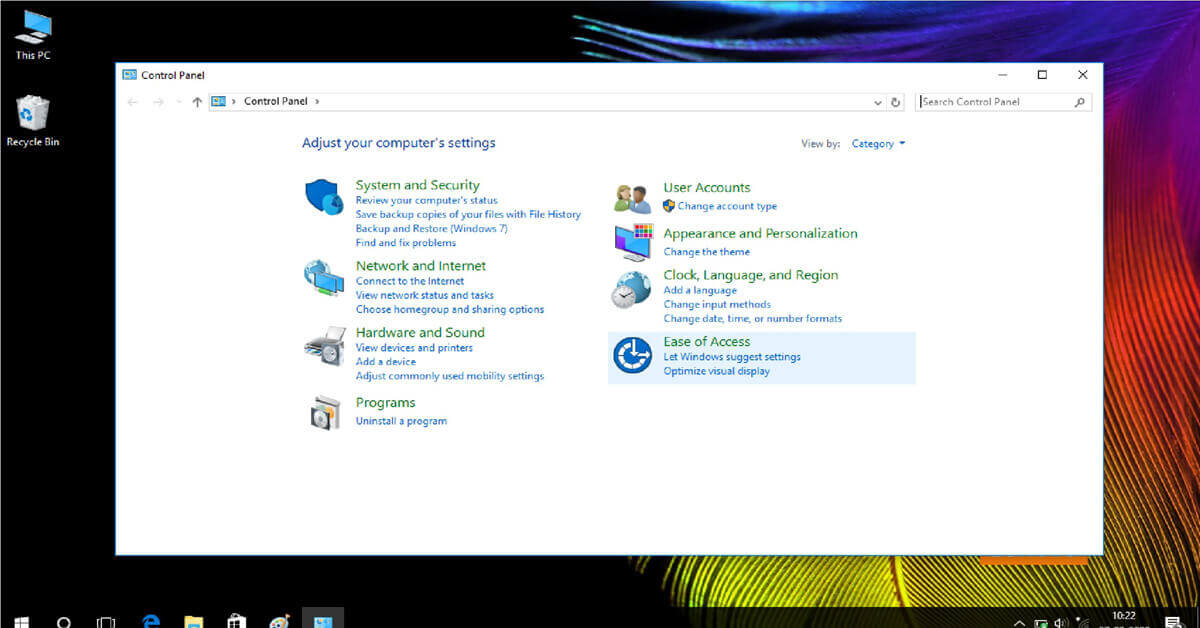
- Go to control panel or (type control panel in the search box).
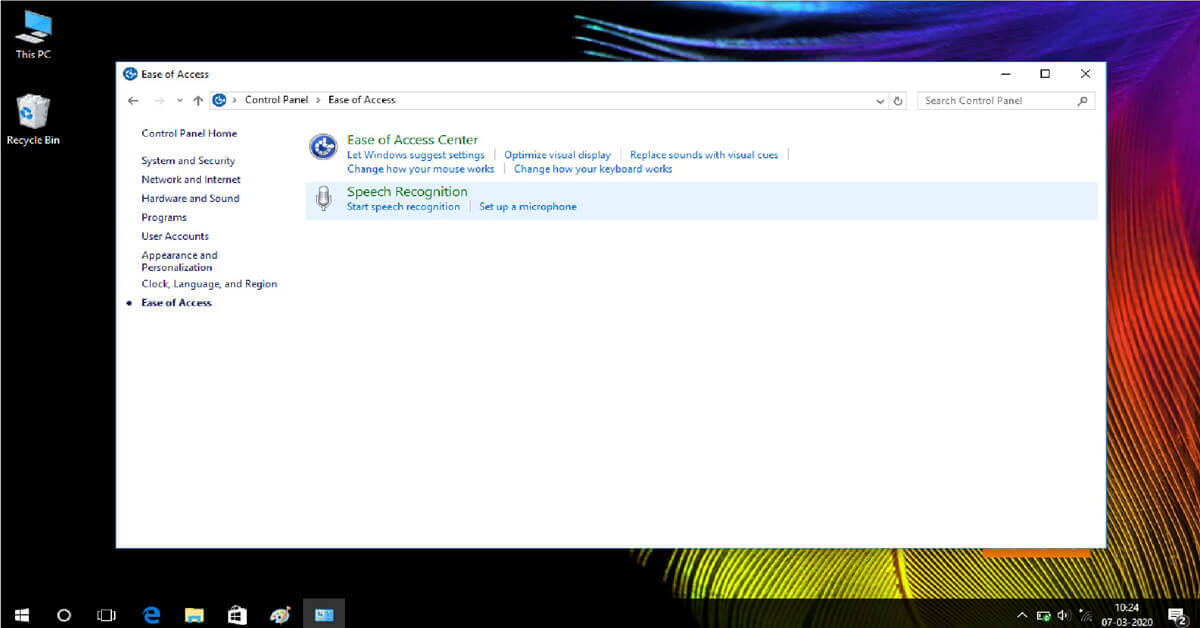
- Choose Ease of Access and Click on Speech Recognition.
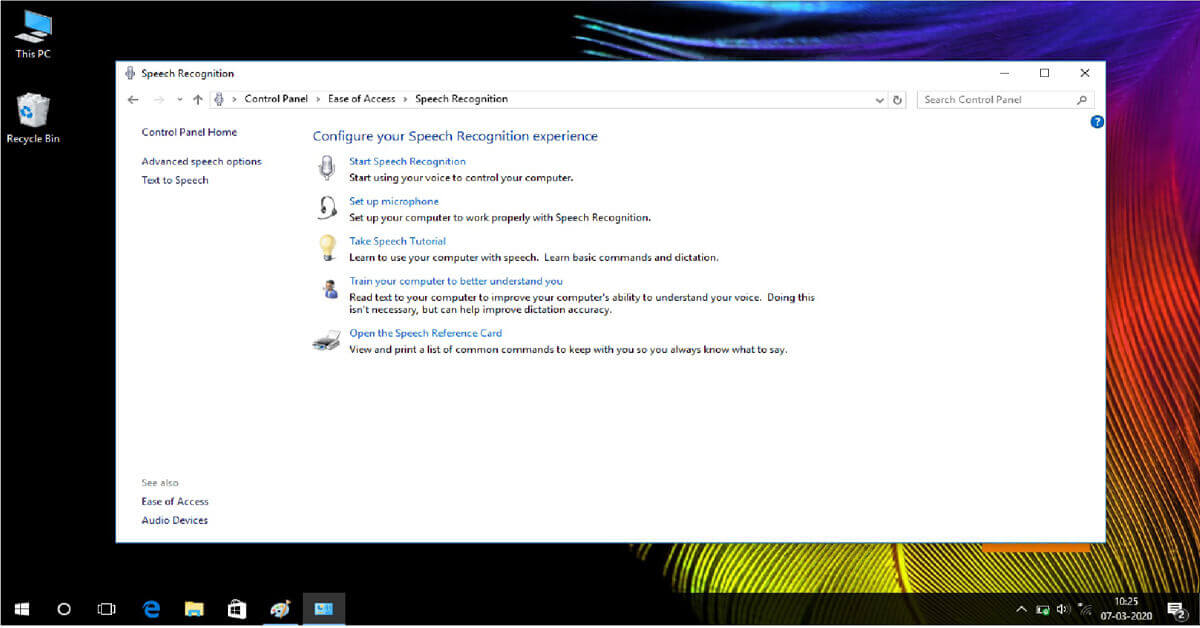
- Click on Start Speech Recognition option and In the Setup, click Next.
- Select the microphone type.
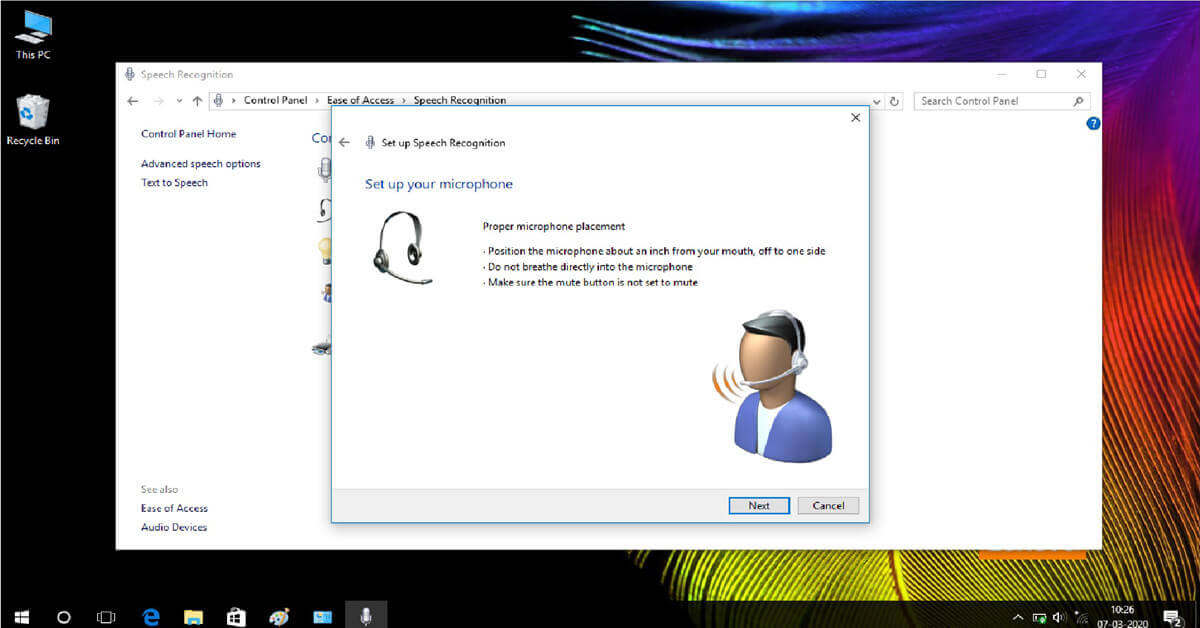
- If you can see the way up below picture. read above words for microphone speech recognition.
- To make your voice more accuracy then enable document review, otherwise no need to review.

- Now you have to choose either the manual activation mode or voice activation mode. Pick An Activation Mode: Use the manual activation mode:To use the ‘Stop Listening’ command for Speech Recognition turns off. To turn it back on, you’ll need to click the microphone button or use the Ctrl + Windows key shortcut.Use the voice activation mode:Use ‘Start Listening’ voice command to turn it back on.
Click Next.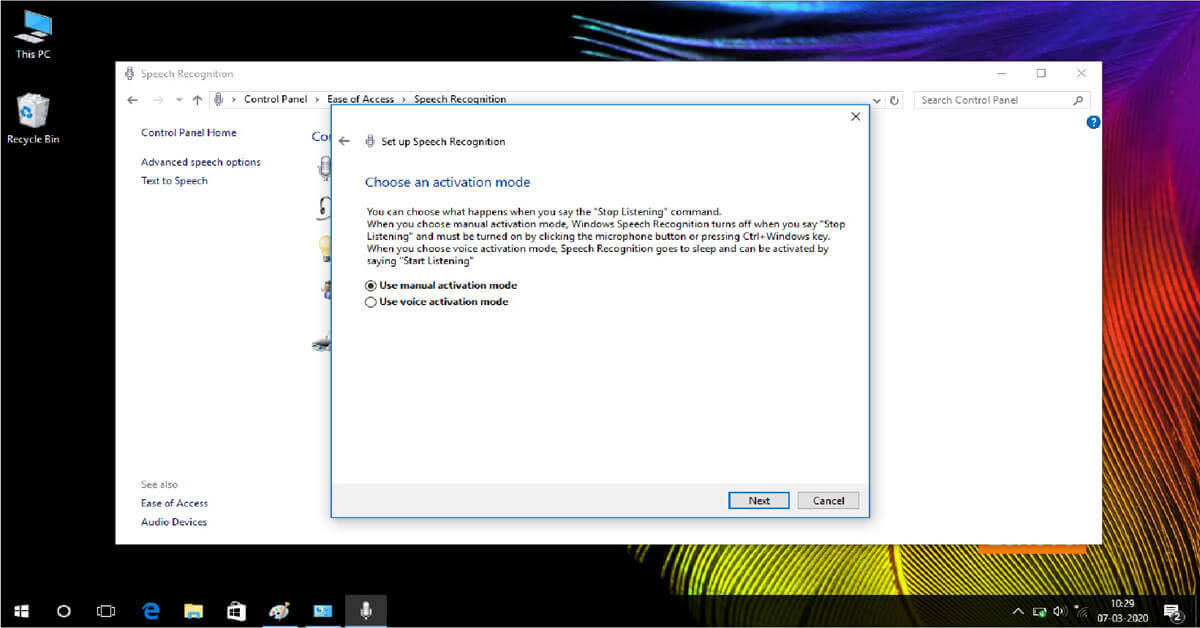
- This option is required for speech recognition every time the computer is turned on put mark, or no need to tick.

- If you want to control the computer with voice here are the tutorials. Check otherwise.
- As you can see above you have an option of speech recognition controller on a desktop.

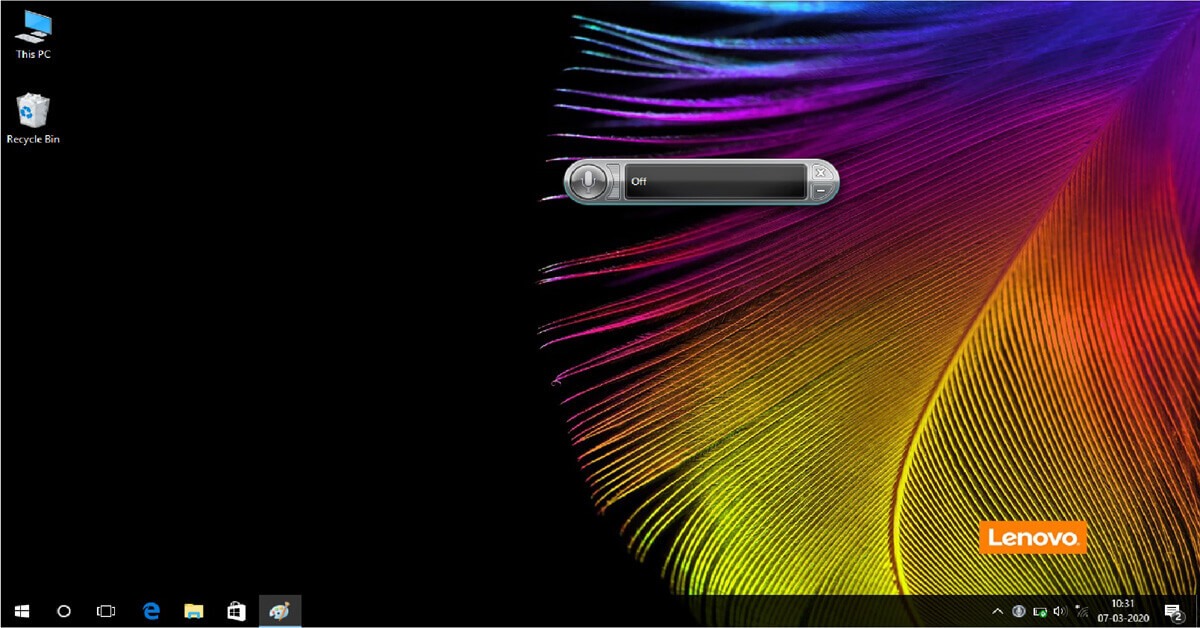
The above icon appears to you to mean that you have done it successfully.
Now let us see how to do typing in MS Word with voice.
How to Voice Type On Microsoft Word
After appearing the icon for speech recognition icon the desktop. Do the following steps.
- First, go to the Start menu and go to All Programs.
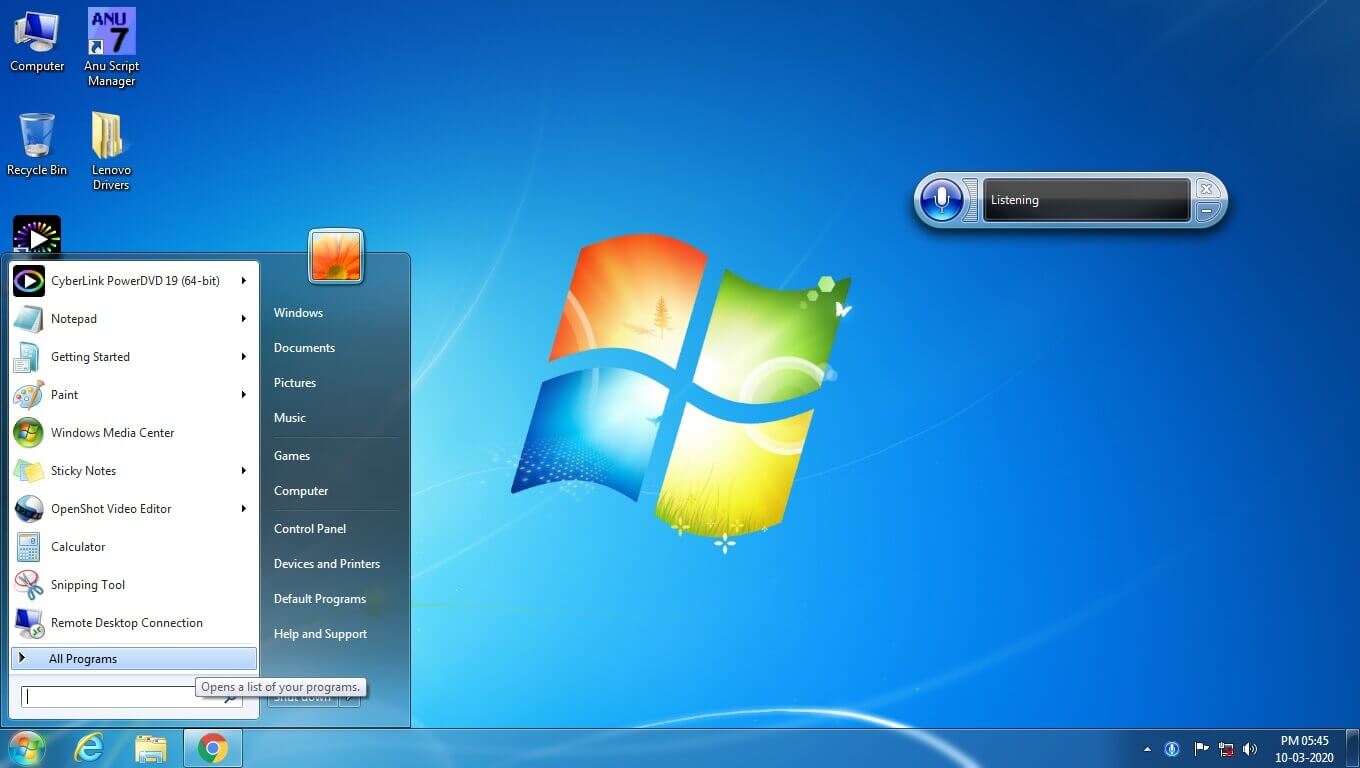
- After clicking the option All Programs, Open the Microsoft Office folder.
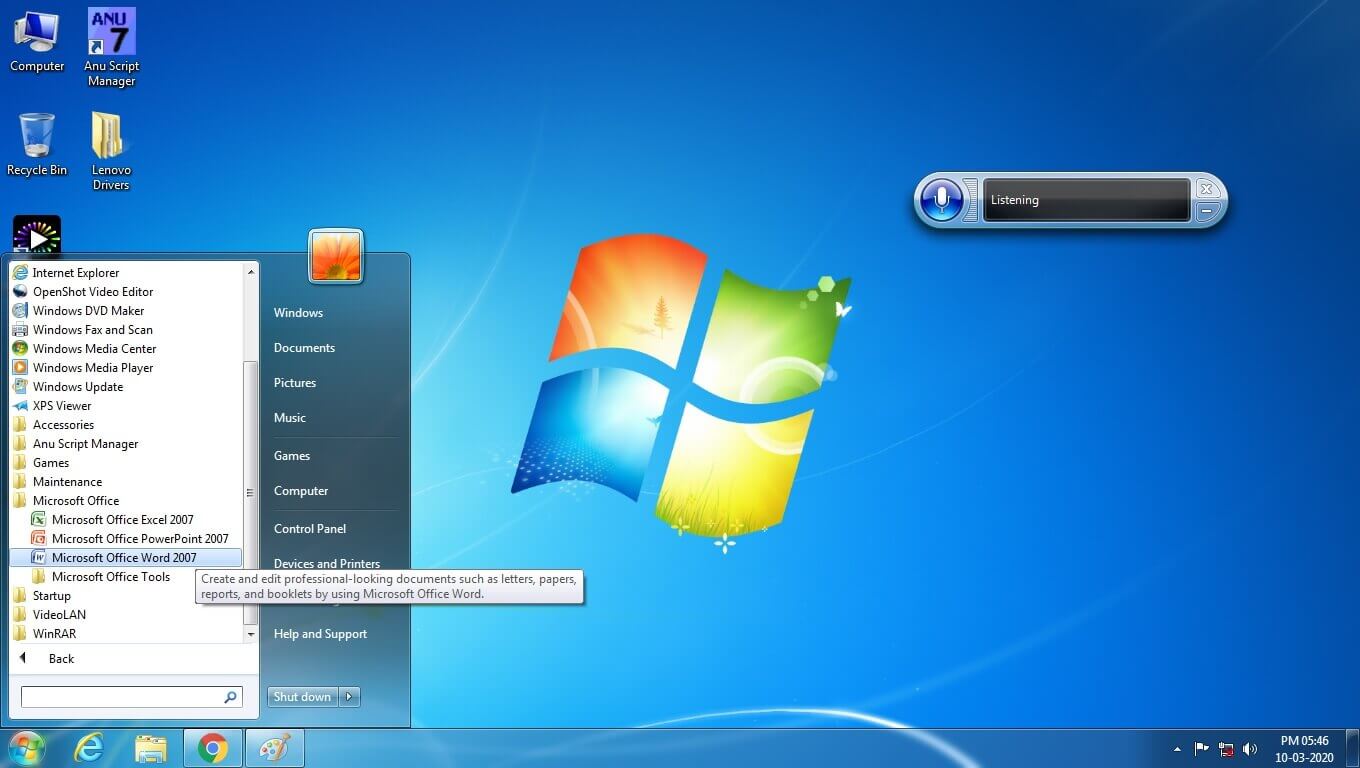
- In the Microsoft Office folder, open the Microsoft Word application by clicking on it.
- The Microsoft Word is open in this way.
- Now after the Microsoft Word application is open, Then should be taped on a mic option in speech recognition software for activating mic (The headset must be connected to the computer when doing this).
- Speech recognizes our voice as we tap on the mic option and its show Listening.
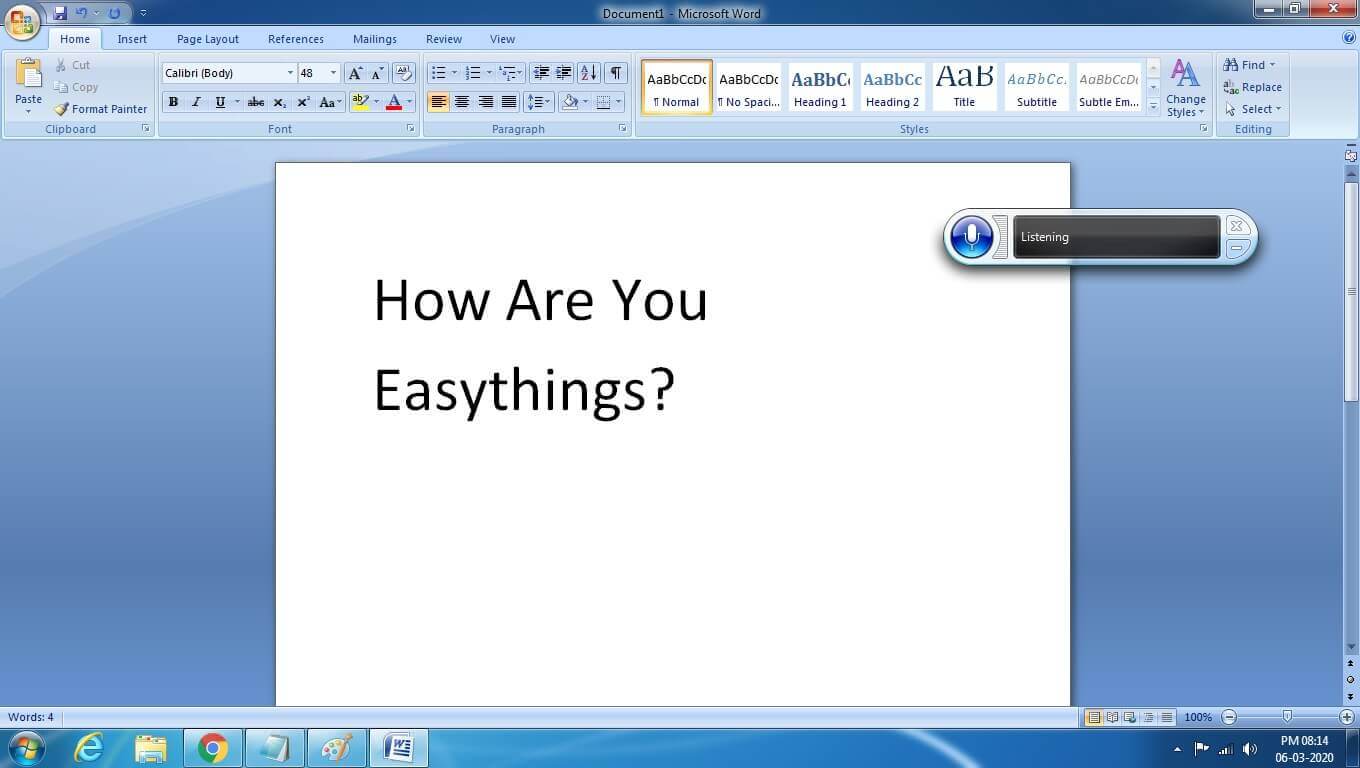
- Whenever the option of Listening is enabled, every word we speak will be typed automatically in Microsoft Word Application.
- Below you will see typing words which means that you have typed with a successful voice.
Yahoo you have learn simply how to do typing with voice. Stay tuned for more tips like Easythings.